How to render 3D anamorphic movie on curved screen? (or fake 3D image)

Hi!
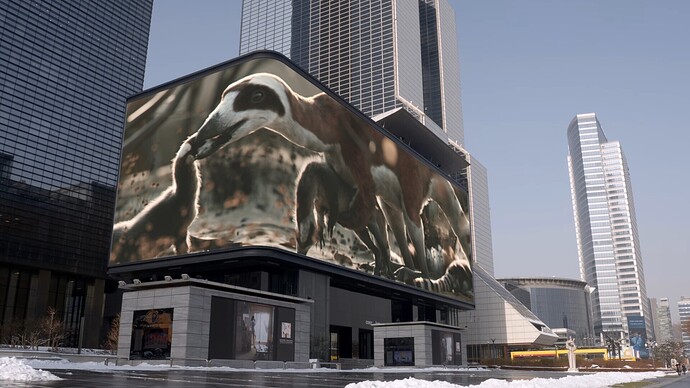
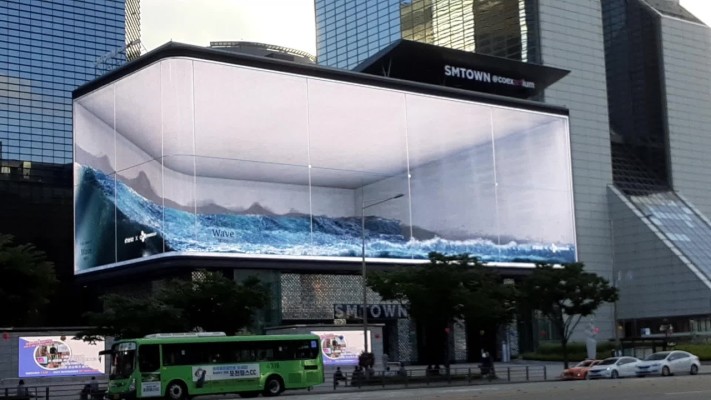
I’d like to show the anamorphic motion graphic( or i think it can be called fake 3d art) on the curved glass screen. it should include the front, side, ceiling as well.
Is it possible to render 3d anamorphic panorama with a third perspective view in one single movie?

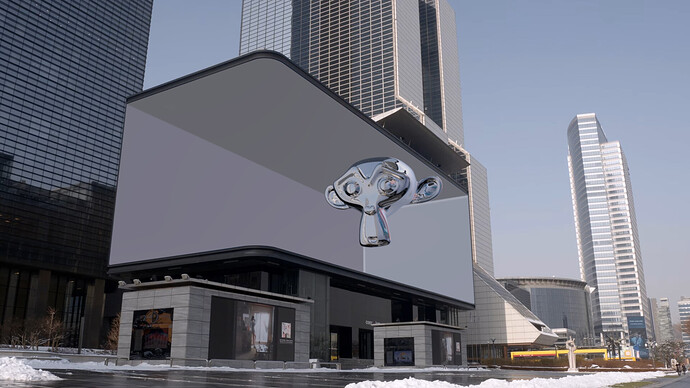
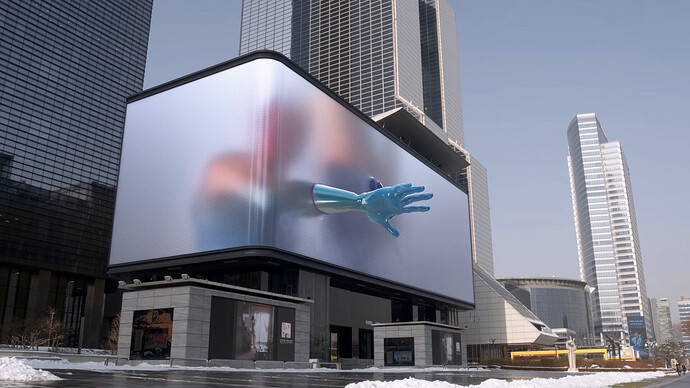
Here is the reference that I want to make.


youtube clip is here here

As you can see those images, those methods are already rendered as calculated distortion for giving 3d depth. Even it is only effective from the specific point to see, I want to test it as a mockup though.

I got information that a specification of this curved screen that 7,840 by 1,952 pixels of resolution. (also 80m width and 20m tall it is, but for making mockup, it’s not necessary.)

here is an interesting idea that similar to my aim.


by [Martynas Žiemys]

But I have no idea to implement that with python or more coding.

Plz, give me any idea!
Thanks!

I think @magdesign know how to project on that screen.

1 Like

You don’t need to create the screen. Using fSpy addon you can get the correct perspective for the camera, model a cube and render your object and animation. After you will have to composite, color grade and some masks. If your animation go outside the box you will have to create a shadow catcher and maybe a few rotoscopes if have people or objects in front of it.

Here is the scene: display.blend (959.1 KB)
Addon: https://fspy.io/

2 Likes

Thank you for your answer!
That addon looks so cool!
However, my aim is slightly different :disappointed_relieved:.
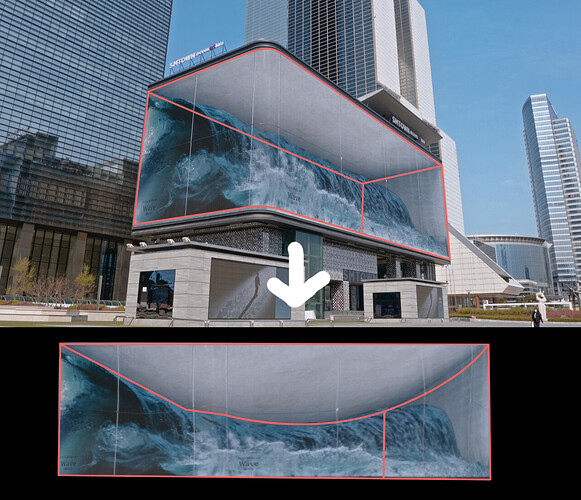
That is not composite on still image, i want to render a single flat image for showing on the real curved screen directly.

The below image is what i what to get from rendering.
is there any way to get it?

1 Like

Thank you for your introducing him!

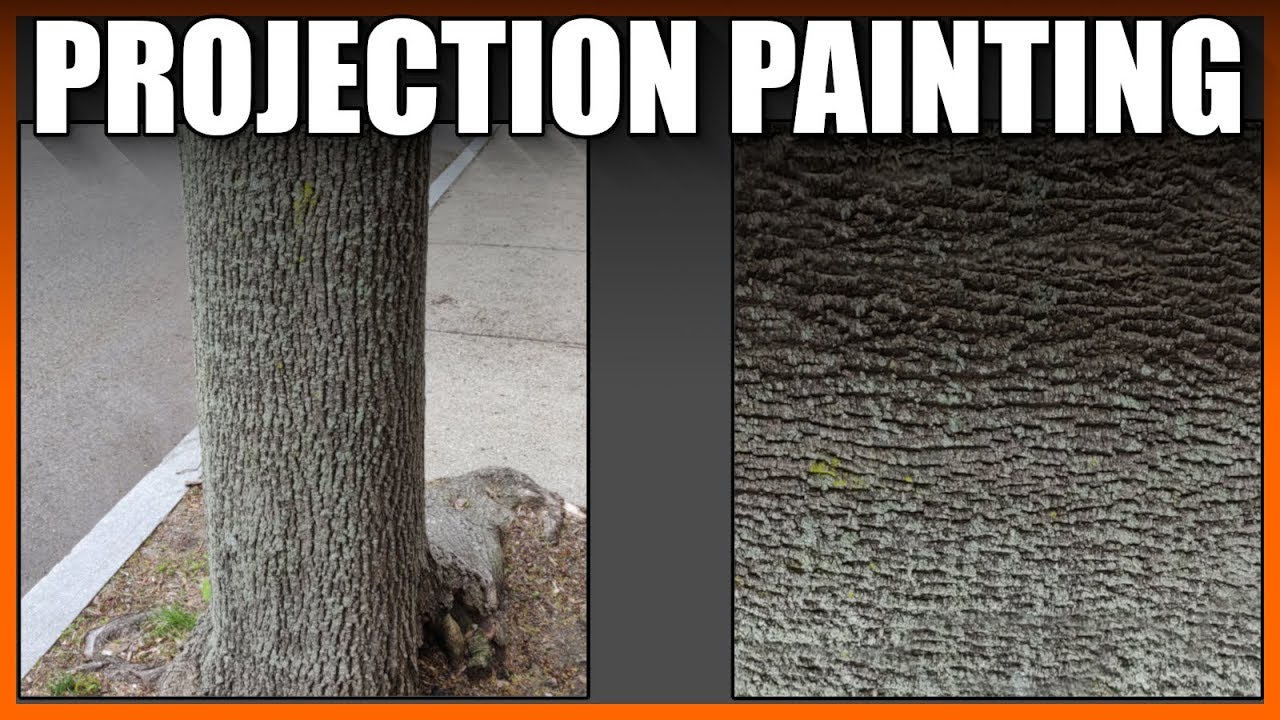
It’s called texture extraction or projection painting, it will extract an image disconsidering the camera perspective. Here’s a tutorial:

If you want to do the oposite, you need to reverse the other file I sent.

Scene: display_02.blend (2.2 MB)

1 Like

Thank you for answering!!
That’s quite a good way to get texture! maybe I can use it when I need to modify my 3D scanning project to fix the losing part!
I’m so sorry that it also has a gap with my desire.
Composited still image is not my goal.
like in my last reply, the result of what I want is one flat single image for a curved screen. That image is to show 3d feeling to the audience in reality. To be elaborate, it will be short animation of the internal space of the box. So while rendering the animation, I think it needs to manipulate that intentional distortion on the result of rendering.

Hi
I am very new to blender, actually I was searching for the same thing how to create such content on the screen. How did you manage to get the flattened output shown above? If any one knows the method to render out the distorted projection in the final resolution of the display.

you need to model your stage/object in realscale, then define the “best point of view” and render from there with a large lens 80-100mm.
its quite tricky, but doable.
anamorphic projections will never work from all view points… hope that helps.

1 Like

Thank you for your advice. how can I get the flat distorted rendered output in the specified resolution?

you need a mapping tool like ofxPiMapper or similar…
e.g.: https://www.pocketvj.com/pocketvj-exhibition

1 Like

Thanks, will try it out.

Hi guys, I just signed up!
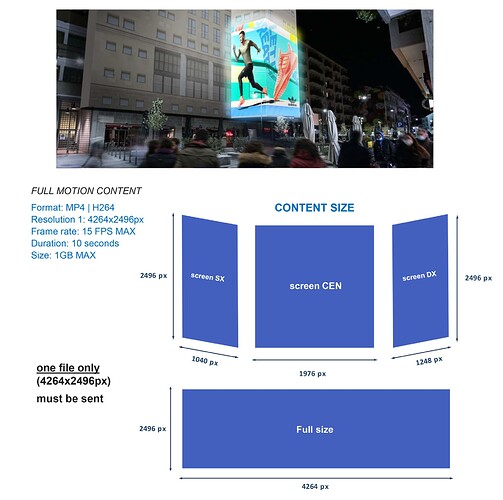
I have to make a 10 second animation for a double 3D led screen, where a character seems to “come out” from the led screen. I don’t know how to set it all up. I can’t find tutorials on the net.
I would like to understand: how do I render the scene to give the feeling I need?
I have read the conversation above but need some more help.
Can you kindly help me please?
Thanks.

Nobody? :frowning:
I hope someone can reply.

Thank You.

Yeah, I can help you. Just a bit busy at the moment. I’ll get back to you.

1 Like

Thank you!!!
I really appreciate it, I’m waiting for you!

Ok AllyAlly,

First of all, tell me about the screens. How are they positioned? Next to each other on a wall, in a corner? I want all the info you can give me. Where it will hang/stand. The environment where’s located. How high is it off the floor? How mauch distance can you get from the screen… Where wille the spectators stand… All that jazz.

Hit it!

I send you a file, so you can see the screen.
I don’t know is the height from the floor currently … they need to let me know.
No information either for distance from the scene.

Thank you my friend!!!

Ally

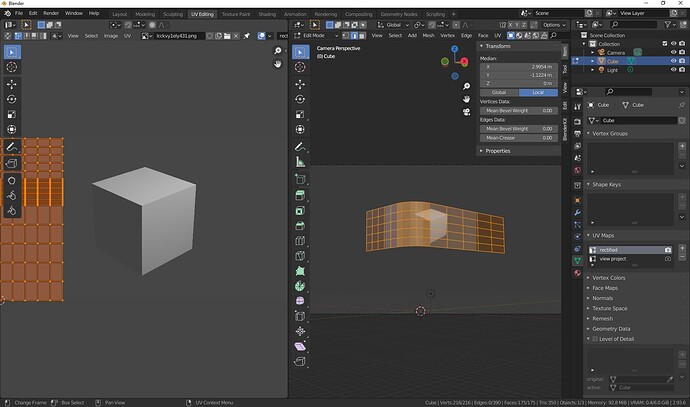
Prepare two uv map.

One you project the display from the view of the camera.
The other you project it as flat planes.

You connect the project from camera uv to the image you want to display and bake the result to a texture.

The built in baker doesn’t support baking animations so you have to find a replacement that does. Otherwise post composite is the way to go.

2 Likes

Ok,

So lets take this one step at a time.

First, you need to determine the “sweet spot” for your audience. This is the point where the spectator should stand to experience the full effect. It’s always good to know how high up the screens are, because that will determine the angle of your camera.

Next, if you can, you should get a photo from the Sweet Spot with as little distortion as possible. Use a 100mm lens to take the picture.Alternatively, if there is no way to get the photo, just recreate the scene in Blender with the info that you have. Judge distances and angles.

Once that’s done create your fake volume where the character needs to come out of. Model the screen first (USE REAL WORLD MEASURMENTS) and then extrude the volume inwards, like a box. The limits of your screen are the limits of your volume. Now there are some things you have to keep in mind: In order to have the 3D effect, you need have a visual border the character can pass. Also, make a duplicate of the screen surface and put it in a separate collection for later. Hide the collection with the duplicate so it doesn’t render.

Take a look at the image below:

As you can see, they’ve created a virtual extension in order to make the character “come out” of the frame. Note that the frame and the virtual border are at the exact same location, meaning the occupy the same position in space. You can do this for all borders, but it works best for the sides and the bottom.

See? They did it in the old days too!

afbeelding

Next, animate you content in all its glory! Go wild! Just make sure you content never crosses the edge of the screen or it’ll ruin the effect.

Done? Great! Render out your content from the angle you’ve chosen as the sweet spot. Wheeeee!

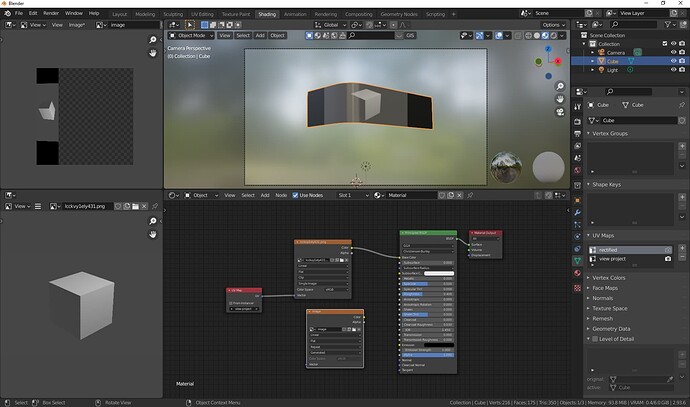
All right, that’s that. Now comes the tricky part. How the heck are you supposed to get that perspective view on a flat plane? Fear not, for I am here with the answer! This is where the duplicate of your screen comes into play. Make u UVMap of your screens, if you haven’t already. Next, add the Project UV modifier to your screen object. Point the modifier to the UVMap you’ve created for the screen. As projection object you take your render camera.

Make a material that uses that UvMap as coordinates. Import you renders as an image sequence and plug that into the Emission color.

Almost there! Alas, now comes a tricky part… Make a shape key for your duplicate screen and FOLD it open until it’s a flat surface. By this I mean you have to ROTATE, NOT SCALE the vertices to a flat plane. You can use the 3D cursor for that. Once that’s done make a second camera that has the exact resolution of the content your client needs. If all is done right the folded open screen and the camera should lign up just right. Think of it lie filming a television screen. Remove and lights from the scene and turn off the collection that you used to make the first render. Only the duplicate screen should be visible. If everything went right the image should look distored, kinda like this:

Now render the view from the second camera. Convert that image sequence to a movie.

BING BANG, you’re DONE! Congrats! You’ve just made your FIRST 3D ANAMORPHIC ILLUSION!

That’s how it’s done. If you get stuck, just ask and I’ll help.
4 Likes